

How to Select Marine Instruments for Sailing in 7 Steps

Quick Summary
To select marine instruments for sailing, first define how and where you sail, then cover the core wind, speed, and depth measurements. Choose a display that fits your helm, confirm network compatibility before ordering, and plan installation, calibration, and backups.
- Map your sailing use, conditions, and crew size before comparing any instrument.
- Wind, boat speed, and depth form the core measurements most sailboat packages are built around.
- Apparent wind is what you trim sails to; true wind is used for passage planning.
- Count the readouts you need at once, since that determines the right display class.
- Run a compatibility audit on NMEA 2000 and proprietary networks before buying anything.
Table of Contents
- Start With Your Sailing Use and Conditions
- Choose Your Core Sailboat Instruments: Wind, Speed, and Depth
- Pick a Display That Fits Your Helm and Your Budget
- Confirm Compatibility With NMEA 2000 Marine Instruments
- Plan Installation, Calibration, and Safety Backups
- Order Your Next Instrument Package From Charleston Yachting
- Frequently Asked Questions
Start With Your Sailing Use and Conditions
Last Updated: October 30, 2026
Choosing marine instruments for sailing starts with one question: what do you actually need the boat to tell you?
Map your use before you look at a single display.
Start with these questions:
- Where do you sail? Protected bays need less depth precision than offshore passages with uncharted shallows.
- What kind of sailing? Racing demands fast, accurate wind and boatspeed data. Cruising values depth, autopilot integration, and easy-to-read navigation.
- How many crew handle the boat? A single-hander needs instruments visible from the helm and the autopilot controls within reach.
Conditions matter as much as use. Sailing in bright sun, rain, or heavy spray changes what makes a display readable.
Your use profile becomes your buying checklist. Write it down before you shop.
Choose Your Core Sailboat Instruments: Wind, Speed, and Depth
Most sailors start with three measurements: wind, boat speed, and depth. Together they tell you how the boat is working and whether the water under you is safe. Many sailboat instrument packages are built around these three core functions.
Wind data is the foundation. It shows how the sails are working and helps you trim with confidence.
Before you pick any single item, confirm that the core functions are covered. A missing speed sensor or wind vane is a common gap that shows up on the first sail.
Marine Wind Instruments: Apparent vs. True Wind
Wind readings on a moving boat come in two forms, and the difference trips up many new buyers.
- Apparent wind is the wind you feel on deck. It combines the true wind with the wind created by the boat's own motion.
- True wind is the actual wind over the water, as if the boat were standing still.
Apparent wind is the number you trim sails to, which is why most racing and cruising sailors watch it closely. True wind is what you use for passage planning and for judging how the breeze is building.
When you compare wind sensors, check whether the system calculates true wind on its own or needs a separate speed input.
Boat Speed and Depth Instruments
Boat speed is measured through the water with a paddle wheel or transducer, not over the ground.
Depth readings come from a transducer mounted in the hull. Check the depth range the unit covers, and confirm that it works in the water you sail.
Watch the update rate on wind and speed sensors. Check the update rate in the product listing before you buy.
Pick a Display That Fits Your Helm and Your Budget
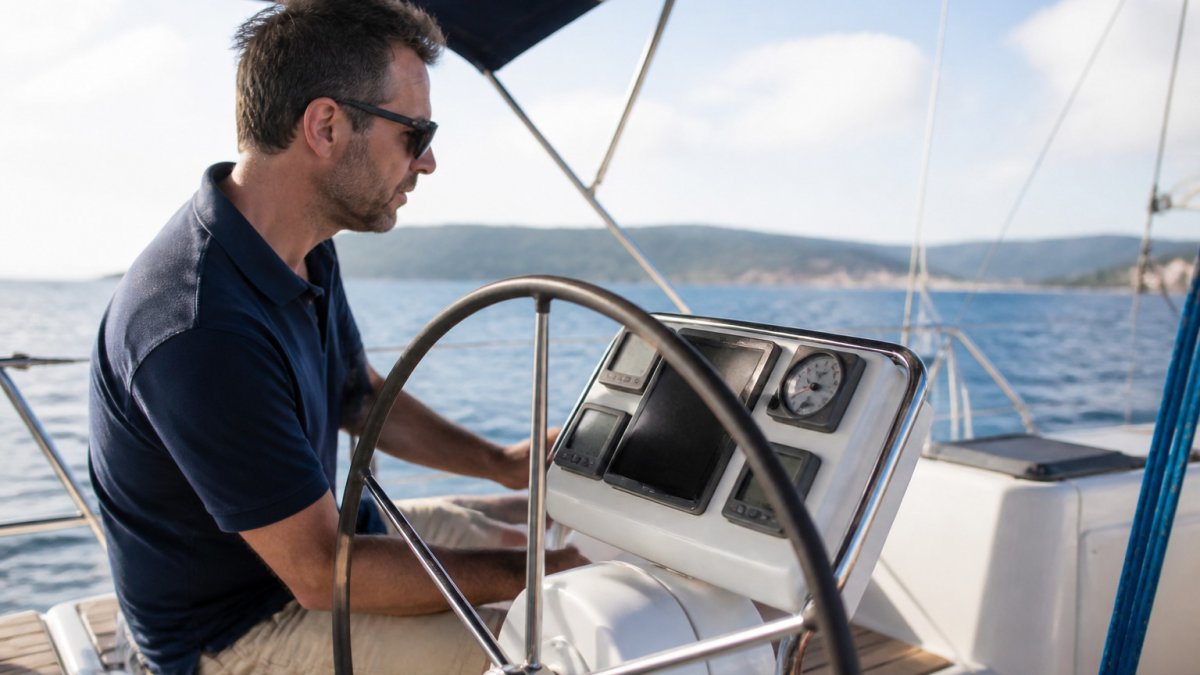
Your display is what you look at for hours, so it deserves careful thought. Screen size, brightness, and how the unit fits your helm matter as much as the data it shows. But before you compare models, decide how many readouts you actually need and where they will live, that decision drives both cost and usability more than any spec sheet.
Start With a Readout Count, Not a Screen Size
Count the numbers you want visible at the same time without pressing a button. A typical coastal cruiser wants four: boat speed, depth, apparent wind angle, and apparent wind speed. A racer often wants six or more, including true wind angle, velocity made good, and heading. A daysailer may only need depth and speed.
That count tells you the display class:
| Readout need | Display class | Typical helm layout |
|---|---|---|
| 1-2 numbers | Single-function or dual-function | One compact unit above the companionway |
| 3-4 numbers | Multifunction data display | One 4-inch class display, or two smaller units |
| 5+ numbers | Multifunction display plus repeater | Main display at the helm, repeater at the mast or nav station |
A single-function display can show only wind, which is simple and affordable. A multifunction display can cycle through wind, depth, speed, and heading on one screen, which suits boats with limited dashboard space, but cycling means you lose simultaneous visibility, which matters when you are trimming in a gust. See a multifunction instrument display that shows wind, depth and speed data for an example.
Legibility Is a Specification, Not a Preference
Sunlight readability is the specification buyers most often ignore and most often regret. Look for displays rated for direct sunlight with a high-contrast bonded screen, and check the backlight brightness in candelas per square meter (cd/m²) when the listing provides it. A screen that looks crisp indoors can wash out completely on a bright afternoon.
Also check:
Raymarine i70s System Pack, Wind, Depth, Speed [T70226] →
- Night mode. A dimmable red or low-lumen night mode preserves night vision on watch.
- Viewing angle. Displays mounted flat on a coachroof are often viewed at an angle; confirm the off-axis readability.
- Control type. Buttons you can operate with wet or gloved hands beat a touchscreen in spray. Many sailors prefer physical buttons at the helm and reserve touchscreens for the chartplotter.
Budget Tiers and Staged Upgrades
Budget should follow your use, not lead it. A ready-made system pack often costs less than buying each part separately, and it guarantees the pieces work together. The Raymarine i70s System Pack, Wind, Depth, Speed, listed at $1,759.99, is an example of a complete package.
A practical way to stage the spend:
- Tier 1, Safety core (depth and speed). Get a depth transducer and a speed log working first. These are the readings that keep you off the rocks and tell you whether the hull is fouled.
- Tier 2, Wind. Add a masthead wind sensor and a display that calculates true wind. This is the upgrade that most changes how you sail.
- Tier 3, Integration and repeaters. Add a network backbone, a second display, and autopilot data sharing once the core is reliable.
Buying in tiers lets you spread cost across seasons and confirm each layer works before adding the next.
Placement is the part people underestimate. Mount the display where you can read it without leaning, and where the sun will not wash it out. Check the viewing angle and brightness before you commit to a location, and sit at the helm in the position you actually sail from, not standing at the dock.
Confirm Compatibility With NMEA 2000 Marine Instruments
Compatibility is where many instrument upgrades go wrong. Two products can both be good and still fail to share data if they use different networks. This is the single biggest reason sailors end up with frustrating, half-working setups. The fix is a short compatibility audit before you order, not after the boxes arrive.
Run a Five-Step Compatibility Audit
- Inventory what you already own. Write down the make, model, and network type of every display, sensor, chartplotter, and autopilot on the boat. Photograph the model plates. This list is the foundation of every later decision.
- Identify the network family. NMEA 2000 is a common standard that lets many marine devices share data on one backbone cable. Manufacturers also use proprietary variants, SeaTalkng, Garmin BlueNet, and others, that may need an adapter to join a NMEA 2000 backbone.
- Check each new device's network line. Read the listing for NMEA 2000 or the manufacturer's network name. A device that speaks only a proprietary network will need a bridge.
- Confirm adapters and power. The Raymarine i70s notes that a DeviceNet to SeaTalkng adaptor is required to connect to an NMEA 2000 backbone. Budget for adapters and for a powered backbone with a terminator at each end.
- Map the cable runs. Sketch where each sensor and display will sit, then estimate cable length before you buy. Backbone cable, drop cables, and connectors add cost that is easy to miss.
Size the Backbone Before You Buy
A NMEA 2000 backbone has practical limits on length and on the number of nodes. A small sailboat network, a few sensors, one or two displays, and an autopilot, often fits comfortably, but long runs from the masthead to the stern can push cable length. Plan the backbone as a single trunk with short drops to each device, and keep one brand family where possible.
What to Bring to the Shopping Stage
If you already own a chartplotter or instruments, bring their model numbers and network type to the shopping stage. Matching your existing system saves money and avoids the integration headaches sailors describe after a bad upgrade. A short written compatibility sheet, existing gear, network family, planned new gear, adapters needed, cable estimate, turns a risky purchase into a planned one.
Compatibility questions are easier to answer on paper than on the dock.
Plan Installation, Calibration, and Safety Backups
A good instrument package still needs proper installation, calibration, and a plan for failure.
Start with installation. Route cables away from heat, sharp edges, and water entry points.
Calibration comes next.
Maintenance is ongoing.
Safety needs backups. Instruments can fail, and a failed depth sounder or wind sensor should never leave you without a plan.
- Carry a paper chart or a second chartplotter for navigation.
- Keep a handheld GPS or depth sounder as a spare.
- Know how to sail and navigate without the instruments, using compass, charts, and visual cues.
A written checklist for setup, calibration, and backups turns good intentions into habits. Review it every season.
Order Your Next Instrument Package From Charleston Yachting
You now have a clear process: define your sailing use, cover the core wind, speed, and depth measurements, choose a display that fits your helm, confirm network compatibility, and plan installation and backups.
Charleston Yachting carries instrument systems from Raymarine and Garmin, including complete packs like the Garmin GMI 40 Wired Sail Pack at $1,499.99 and the Garmin GNX 120 Marine Instrument at $949.99. Browse a matching autopilot core pack to complete your package.
Frequently Asked Questions
What instruments do you need on a sailboat?
Most sailors start with wind speed and direction, boat speed through the water, and depth. These three core measurements cover the basics of trimming sails, tracking performance, and avoiding grounding. Many owners then add a compass or heading sensor and an engine data display. Cruising sailors often add AIS and a chartplotter for navigation. Racing sailors may prioritize apparent wind and boat speed data for trim. Start with the core three and expand based on how you actually sail.
Can I connect instruments from different marine electronics brands?
Often yes, but only if the devices share a common data network. NMEA 2000 is the standard most modern marine instruments use, so devices that are NMEA 2000 certified generally work together across brands. Older systems may use NMEA 0183 or proprietary networks, which require adapters or converters. Before buying, check each product's network specifications and confirm the backbone, cables, and power requirements match. Review each product's network specifications before ordering.
Are wireless marine instruments suitable for a sailboat?
Wireless instruments can simplify installation on boats where running cable is difficult, but they introduce battery management and signal reliability considerations. Wired systems on NMEA 2000 networks are generally more dependable for continuous data, especially on a sailboat that spends time in heavy weather or long offshore passages. Consider wireless options for supplemental displays or retrofits, and rely on a wired backbone for core wind, speed, and depth data.
How do I choose a wind instrument for sailing?
Choose a wind sensor that measures both apparent and true wind if you plan to trim sails closely or navigate offshore. Mast-top sensors generally provide cleaner data than masthead-mounted alternatives on smaller boats with limited clearance. Confirm the sensor's update rate and mounting requirements, and check whether it pairs with your chosen display. The Garmin GMI 40 Wired Sail Pack, for example, is designed to connect to the gWind sensor and DST820 transducer.
Quick Summary: Start with how you sail and where, cover wind, speed, and depth, pick a display that fits your helm, confirm NMEA 2000 compatibility, and plan installation and backups. Check every listing against your network before you order.
