

Is Your Sailboat Mast Misaligned? How to Diagnose and Fix It

Last Updated: November 14, 2026
Quick Summary
Diagnosing mast alignment issues starts with a systematic check: sight up the mast, compare masthead position to the boat's centerline, check shroud and stay tension, inspect the mast step and deck support, and look for permanent bends. Tune by centering the masthead side to side, setting rake, tensioning lowers, and balancing forestay and backstay, rechecking after every change.
- Sight up the aft face of the mast from deck level to spot a permanent bend.
- Adjust upper shrouds in half-turn increments until halyard gaps at the masthead match.
- Tension lowers in quarter-turn increments, re-sighting after each pair.
- Measure shroud tension on both tacks; a consistent difference points to an off-center masthead.
- Stop sailing and have a rigger assess any permanent bend after trauma.
Table of Contents
- Start With a Systematic Mast Alignment Diagnostic
- How to Tune a Sailboat Mast: Step-by-Step Adjustment
- How Tight Should Sailboat Shrouds Be?
- Your Sailboat Rigging Inspection Checklist
- Mast Step, Base, and Deck Support Checks
- Bent Sailboat Mast Repair or Replacement: What to Do
- Shop Rigging Hardware and Instruments at Charleston Yachting
- Frequently Asked Questions
Start With a Systematic Mast Alignment Diagnostic
A misaligned sailboat mast shows up as odd sail shape, uneven leeward helm, or a rig that suddenly creaks on one tack. These complaints often surface after a haul-out or a hard blow. The fix starts with a simple diagnostic, not a wrench.
Work through these checks in order. Each one narrows the problem before you touch a turnbuckle.
- Sight up the mast from the deck.
- Compare masthead position to the boat's centerline.
- Check shroud and stay tension.
- Inspect the mast step and deck support.
- Look for permanent bends or crushed fittings.
Do them in sequence, since skipping ahead can lead to adjusting the wrong thing.

Sight Up the Mast and Check Straightness
Sight up the aft face of the mast from deck level. A straight mast reads as one clean line to the masthead. A mast that curves gently under load is normal; masts are built to flex, as naval architecture research on mast stiffness explains.
Watch for a permanent bend, though. That points to excessive pressure or trauma, not tuning.
Check Side-to-Side Alignment at the Masthead
Hoist a halyard and hold it against the masthead. The gap on each side of the mast should match. A mast leaning to one side loads the rig unevenly and pulls the boat off course.
How to Tune a Sailboat Mast: Step-by-Step Adjustment
Tuning a sailboat mast means centering it side to side, setting rake, then tensioning shrouds and stays evenly. Do it in still air, with the boat floating level and the rig unloaded. Work in small increments and recheck after every change, because each adjustment moves the masthead in two directions at once.
Here is the sequence we recommend, with the measurement that confirms each step:
- Center the masthead side to side. Hoist a halyard and hold it against the masthead so the gap on each side of the spar matches. Adjust the upper shrouds in half-turn increments until the gaps are equal. A common pattern is to bring the masthead to centerline first and leave rake and lowers for later, because centering changes apparent rake.
- Set mast rake. With the halyard still at the masthead, drop a weighted line to the deck and mark where it crosses the boom or cabin top. Measure from that mark to a fixed reference on each side of the boat, and compare the result to your builder's rake figure. Rake is model-specific: a fraction of a degree of difference is normal between sister hulls, so treat the builder's number as the target and a small deviation as acceptable rather than chasing a perfect reading.
- Tension the lowers. Snug the lower shrouds until the mast stays straight under load. Sight up the aft face of the spar while a helper loads the rig by hand; the mast should bend evenly, not kink at the spreaders. Tighten in quarter-turn increments and re-sight after each pair.
- Balance the forestay and backstay. Adjust so the rig sits neutral, with the masthead staying over the boat's centerline when you sight from the side. Over-tightening the backstay pulls the masthead aft and adds rake you did not intend.
- Re-sight and re-measure. After every change, repeat the halyard gap check and the rake measurement. A tuning session that skips the recheck loop usually ends with one shroud over-tensioned and the mast out of column.
Watch out: never tension a shroud against a slack opposite shroud. Load one side, then the other, and confirm the masthead has not drifted before moving to the next pair.
For a deeper walkthrough, see our guide on how to tune sailboat standing rigging.
Here is the tuning sequence with the measurement that confirms each step.
| Step | What to do | Confirming check |
|---|---|---|
| Center masthead | Adjust upper shrouds in half-turn increments | Halyard gap on each side of spar matches |
| Set mast rake | Drop weighted halyard, mark deck crossing | Compare mark to builder's rake figure |
| Tension lowers | Snug in quarter-turn increments, re-sight after each pair | Mast bends evenly, no kink at spreaders |
| Balance forestay and backstay | Adjust so rig sits neutral | Masthead stays over centerline from the side |
| Re-sight and re-measure | Repeat checks after every change | Halyard gap and rake measurement hold |
How Tight Should Sailboat Shrouds Be?
Shroud tension should be enough to hold the mast straight under sail, with no slack on the leeward side in a moderate breeze. Too loose and the mast pumps and the rig shock-loads; too tight and you crush the spar, stretch fittings, and load chainplates beyond their design.
Use a rig tension gauge and follow your boat builder's numbers. There is no universal target: tension specs are model-specific and depend on spar section, shroud diameter, and deck structure, so a figure that is correct for one boat can be dangerous on another. If you do not have the builder's numbers, a qualified rigger can establish a baseline for your boat.
Measure on both tacks. Tension the rig, sail or load it briefly, then read the gauge on port and starboard. A consistent difference between tacks points to a masthead that is off centerline or a chainplate that is moving under load, not to a tension problem.
Adjust in quarter-turn increments and recheck after each pair of turns. A common pattern is to bring the leeward shroud to just taut in a moderate breeze, then confirm the mast still sights straight and the masthead has not drifted.
Watch out: stop and unload the rig if you see cracked turnbuckle bodies, deformed chainplates, crushed spar sections at the spreader roots, or a mast that will not return to straight after tension is released. Those are structural warning signs, not tuning problems, and continuing to tighten can turn a repairable issue into a replacement.
If the numbers are unclear or the rig shows any of those signs, have a qualified rigger assess it before you sail again.
Your Sailboat Rigging Inspection Checklist
A rigging inspection should cover every connection from deck to masthead. Run this list before each season and after any hard grounding or storm.
- Check shrouds and stays for broken strands or rust
- Inspect turnbuckles for cracks and free movement
- Look at mast tangs and chainplates for corrosion
- Confirm cotter pins and ring pins are secure
- Check the masthead sheaves and halyard wear
- Look for cracks at the mast base and deck collar
For a fuller walkthrough, read our 2026 rigging failure inspection guide. If you do your own work, our DIY rigging maintenance tips cover the seasonal jobs.
Mast Step, Base, and Deck Support Checks
The mast step carries the whole rig's compression load. A crushed step or soft deck under the mast lets the spar sink and throws alignment off. Check for cracks, corrosion, and any gap between the mast base and the step.
Also look at the deck collar and any support post below. While you are there, review the signs of wear on marine rigging hardware so small issues do not become big ones.
Bent Sailboat Mast Repair or Replacement: What to Do
A bent sailboat mast needs professional assessment, not a backyard fix. A gentle curve under load is normal flex. A permanent bend after trauma is structural damage.
Stop sailing if you find one. Then:
- Have a rigger measure the bend and check for cracks.
- Replace any crushed or cracked fittings.
- If the spar is sound, source new hardware and re-tune.
If repair is the call, our Harken rigging hardware replacement guide helps you match the right parts. A sailing forum discussion on bent masts notes that replacement beats repair once the spar is permanently deformed.
Shop Rigging Hardware and Instruments at Charleston Yachting
Getting alignment right depends on good hardware and reliable instruments. Charleston Yachting offers rigging hardware and instruments that support tuning and inspection.
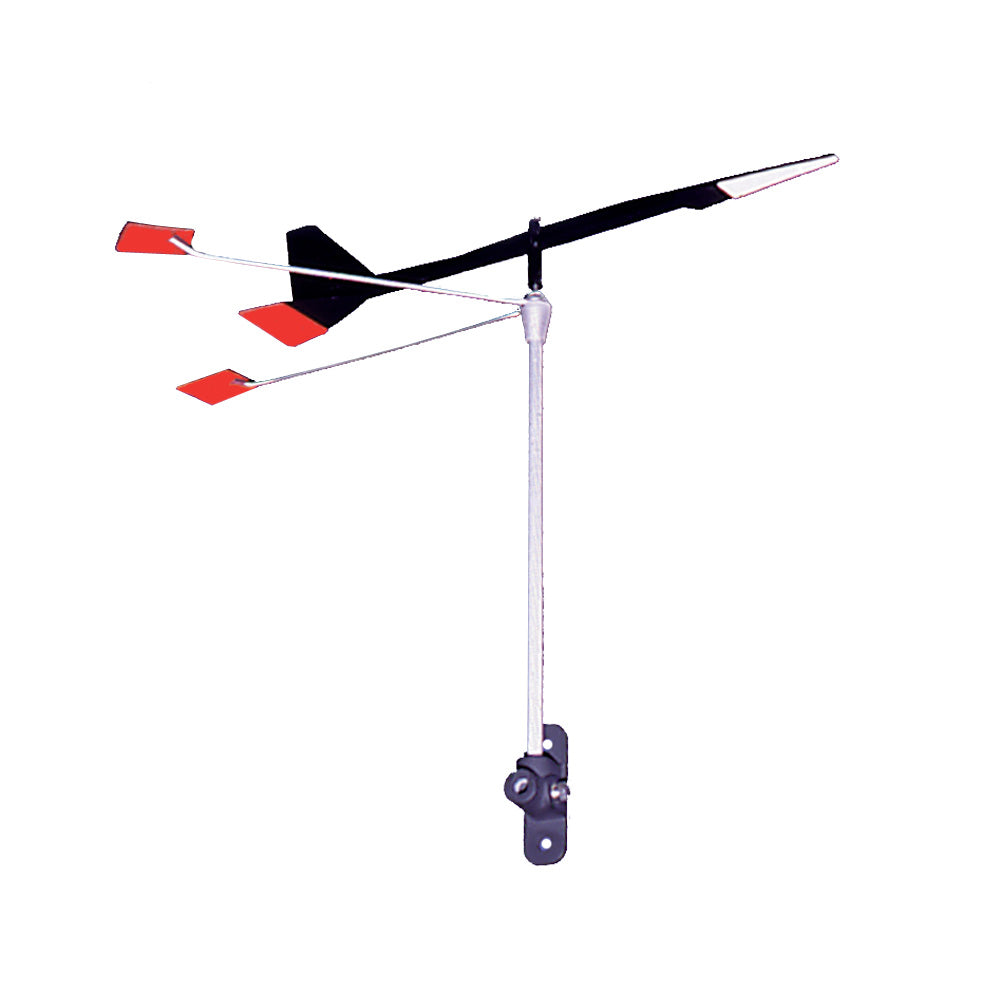
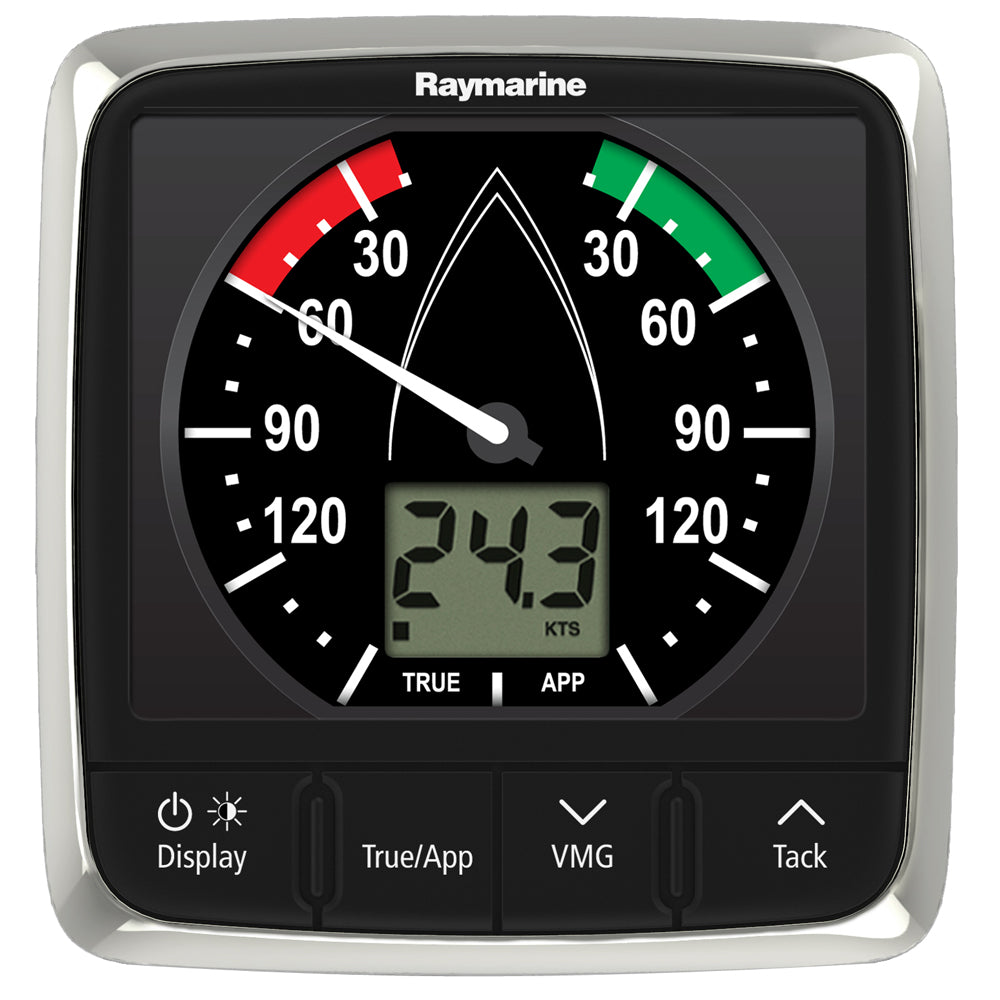
For wind reference while tuning, the Davis WindTrak 10 Sport Wind Vane at $49.99 is a wind indicator available from Charleston Yachting. For a full display, the Raymarine i60 Wind Display System at $604.99 is available from Charleston Yachting.
A misaligned mast will not fix itself, and guessing at tension can make it worse. Charleston Yachting carries the rigging hardware and instruments you need to diagnose and correct alignment with confidence. Shop premium gear from Harken, Garmin, and B&G, with same-day shipping so your boat is ready sooner. Get started with Charleston Yachting and get your rig dialed in.
Frequently Asked Questions
How do you check whether a sailboat mast is straight?
Sight up the mast from deck level or use a halyard as a reference. Tension the main halyard and hold it alongside the mast at the gooseneck, then look up the luff groove to see if the mast curves evenly or bends to one side. A mast designed to flex will show some curve under load, but a permanent bend or S-curve after trauma signals damage. Check from both port and starboard to confirm side-to-side straightness before adjusting anything.
What causes a sailboat mast to lean to one side?
A mast leaning to one side usually comes from uneven shroud tension, a shifted mast step, or a deck that has compressed under load. Check that the mast base sits centered in its step and that the deck around the partners shows no cracking or deflection. Then compare port and starboard cap shroud tension with a gauge. A tilted mast is not always a fault, but if it rubs against the mast tube or lacks clearance, correct the tension before sailing.
When should a bent or misaligned mast be inspected by a professional rigger?
Call a rigger if you find a permanent bend after excessive pressure or trauma, cracking at tangs or fittings, or a mast step that has shifted or deformed the deck. Also seek professional inspection if shroud tension cannot be equalized within reasonable tolerances or if the mast shows an S-curve. Routine tuning you can handle yourself, but structural damage and de-masting risk require a certified rigger's assessment before you sail again.
How tight should sailboat shrouds be?
Shroud tension depends on your rig type and boat size, so check your rig manufacturer's specifications rather than guessing. As a starting point, cap shrouds typically carry more tension than lowers, and you should tune to a consistent reading on a tension gauge with the mast straight side-to-side. Tighten in quarter-turn increments, sighting up the mast after each adjustment. Too little tension lets the mast pump; too much loads the chainplates and deck.
