

How to Calibrate Marine Wind Instruments for Better Performance

Last Updated: October 22, 2026
Quick Summary
To learn how to calibrate marine wind instruments for better performance, first confirm the masthead unit is aligned and the heading source is calibrated, then correct the wind angle offset using a two-tack average and set wind speed against a known reference. Validate on both tacks and record every value.
- Sail dead upwind on both tacks to tell sensor misalignment from apparent wind effects.
- Calibrate the compass or GPS heading source before touching any wind settings.
- Ten to fifteen knots of true wind with minimal sea state is the ideal calibration window.
- Adjust wind speed in one or two knot steps until readings stay within one knot.
- Recheck calibration at the start of each season and after any rig work.
Table of Contents
- Why Wind Instrument Calibration Matters for Accurate Readings
- Sailboat Wind Sensor Calibration: Preparing the Boat and Instruments
- Choosing Calm, Steady Conditions for a Straight-Line Run
- Correcting the Apparent Wind Angle Offset
- Wind Speed Calibration on a Sailboat: Repeated Readings and Incremental Corrections
- Raymarine Wind Instrument Calibration and Other System-Specific Procedures
- Validating Results and Troubleshooting Network, Software, and Sensor Faults
- Frequently Asked Questions
Why Wind Instrument Calibration Matters for Accurate Readings
Knowing how to calibrate marine wind instruments for better performance starts with one truth: your wind instrument is only as good as its last calibration. A masthead unit reading five degrees off will steer you into a header you never saw coming.
Most guides skip this: two different problems get lumped together under "calibration."
- Sensor alignment errors: the masthead unit points a few degrees off centerline
- Apparent wind effects: the wind you feel on deck is a blend of true wind and boat speed
Fix the first with an offset. Understand the second before you trust any number. NMEA 2000 network standards overview
Separating Sensor Alignment Errors From Apparent Wind Effects
Apparent wind is what your masthead measures; true wind is what the forecast promised. The gap comes from boat speed and heading, not a faulty sensor.
Before touching an offset value, ask: is the sensor misaligned, or am I reading apparent wind and expecting true?
A quick test tells you: sail dead upwind on both tacks in steady breeze. If apparent wind angle differs by the same amount on each tack, suspect alignment.
Sailboat Wind Sensor Calibration: Preparing the Boat and Instruments
Preparation decides whether calibration takes twenty minutes or two hours. Start with the boat still and level.
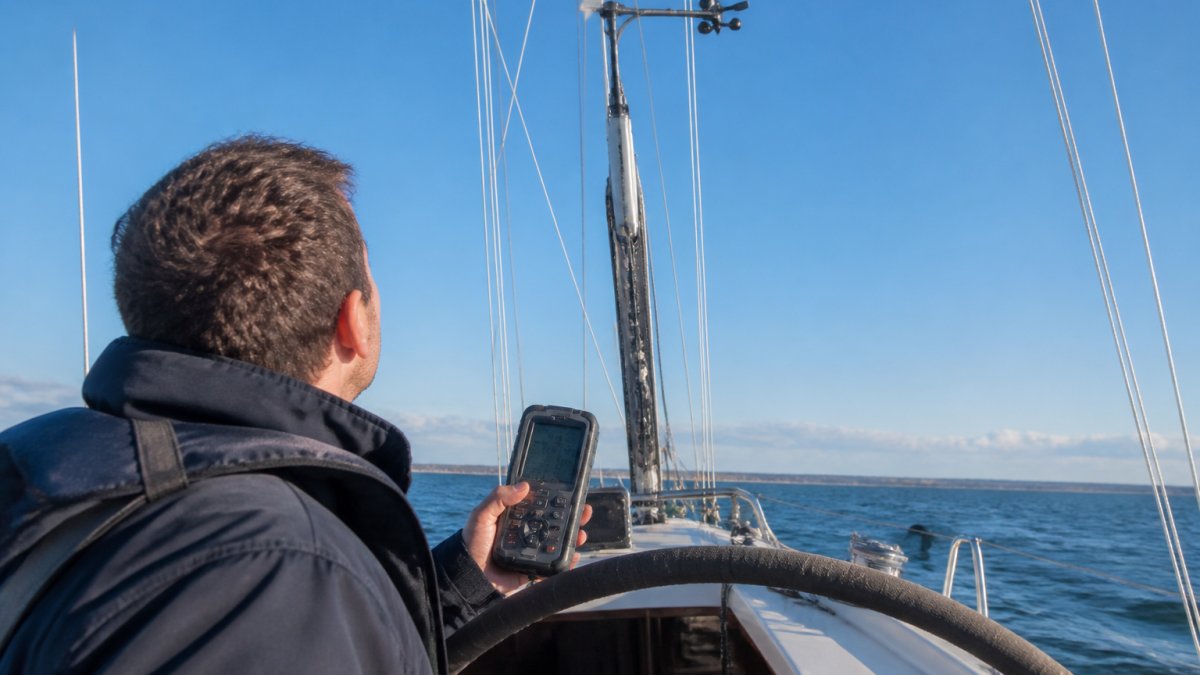
Work through this checklist before you leave the dock:
- Mast is upright and rig tension is set to your normal sailing spec
- Masthead unit is level and facing forward
- Cable connections are clean and dry at both ends
That last item matters more than most sailors realize: wind direction is calculated relative to heading, so a compass off by three degrees throws your wind angle off by three degrees too.
Checking the Masthead Unit and Anemometer Installation
The masthead unit must sit on the centerline and point straight ahead; a few degrees of twist becomes a permanent error in every reading.
Climb up or lower the mast and check three things: the unit is square to the fore-aft line, the vane spins freely, and the cups or bearings turn without drag. Bird strikes and UV damage are common culprits; a sticking vane shows a dead band where readings freeze.
If you are replacing a tired unit, a modern transducer like the Raymarine RSW Wired Smart Performance Wind Transducer arrives wind-tunnel balanced, which reduces how much correction you need later.

Choosing Calm, Steady Conditions for a Straight-Line Run
Calibration needs steady wind and flat water. Ten to fifteen knots of true wind with minimal sea state is the sweet spot. Enough breeze to stabilize the vane, not enough to heel the boat.
Avoid days with:
- Large shifts in wind direction
- Strong current running across your test course
- Heavy chop that rocks the masthead
Pick a straight-line run with clear water and hold a steady speed on a constant heading. Any turn, heel, or speed change adds error to your reference reading.
Correcting the Apparent Wind Angle Offset
The apparent wind angle offset corrects for a masthead unit that does not point exactly forward. Most displays let you enter it directly in calibration mode.
Here is the sequence we recommend:
- Sail close-hauled on starboard tack in steady breeze
- Record the apparent wind angle
- Tack and sail close-hauled on port at the same speed
- Record the apparent wind angle again
- Average the two readings
- Enter the difference as your offset
If starboard reads 32 degrees and port reads 28 degrees, the average is 30. Enter a 2-degree offset toward starboard. Repeat the run to confirm.
Do not chase perfection on the first pass. Get close, then validate.
Wind Speed Calibration on a Sailboat: Repeated Readings and Incremental Corrections
Wind speed calibration compares your instrument against a known reference: a calibrated handheld anemometer, a nearby weather station, or a trusted second boat.
Take repeated readings rather than a single snapshot. Five readings over ten minutes give you a usable average. One reading gives you noise.
Garmin GMI 40 Wired Sail Pack 43mm - 2 GMI 40 Marine Instruments, gWind Wired →
Then correct in small steps:
- Adjust by one or two knots at a time
- Re-run the comparison after each change
- Stop when your readings stay within one knot of the reference
For a full system, the Garmin GMI 40 Wired Sail Pack pairs two displays with gWind and speed/depth transducers, so you can watch wind and boat speed together during the run.

Raymarine Wind Instrument Calibration and Other System-Specific Procedures
Every brand hides calibration in a different menu, and the sequence matters. The goal is the same, align the masthead, correct speed, validate on the water, but menu paths and parameter names differ enough that generic advice fails at the dock.
A model-aware workflow looks like this:
- Confirm the masthead transducer is physically aligned and the vane spins freely.
- Calibrate the heading source (compass or GPS) before touching wind settings.
- Enter the system's wind calibration mode and set the wind angle offset.
- Set wind speed correction against a reference.
- Run a sea trial and validate on both tacks.
What changes by system is steps 3 and 4.
Raymarine Wind Instrument Calibration
Raymarine wind instrument calibration runs through the display's calibration mode, where you set wind angle offset and wind speed correction separately. The masthead transducer feeds the display or network directly; enter calibration mode from instrument settings, follow the on-screen prompts, then validate with a sea trial.
Two practical notes for Raymarine owners:
- Networking matters. Displays like the Raymarine i60 Wind Display System support both SeaTalk and SeaTalkng networking, which simplifies upgrades from older instruments. If you are mixing SeaTalk and SeaTalkng devices, confirm the backbone is terminated correctly before calibrating, a network fault can look like a calibration error.
- Offset direction is easy to get backwards. After entering an offset, run the two-tack check again before you trust it. If the error grows instead of shrinking, reverse the sign and repeat.
Garmin Calibration Modes
Garmin systems handle wind calibration through the instrument or chartplotter menu, with offset and speed correction fields adjusted manually. The Garmin GMI 40 Wireless Wind Pack connects wirelessly to the gWind sensor, cutting one cable run and one failure point.

On Garmin setups, the practical sequence is:
- Pair or confirm the wind transducer is visible on the network.
- Open the instrument or chartplotter calibration menu.
- Set the wind angle offset from your two-tack average.
- Set wind speed correction against your reference.
- Re-run the sea trial and confirm the readings hold.
Because Garmin often centralizes settings in the chartplotter, document your starting values before you change anything. If a firmware update resets a menu, you will want the original numbers.
B&G Calibration Modes
B&G systems use sailing-specific calibration routines tied to polar data and true wind calculations, assuming racing-grade accuracy, so expect more steps. Because B&G ties wind calibration to boat speed and polar targets, a boat speed error shows up as a wind error. Calibrate the paddlewheel or speed source first, then wind angle, then validate against the polar target.
System Comparison
| System | Where Calibration Lives | Offset Type | Best For |
|---|---|---|---|
| Raymarine | Display calibration mode | Angle and speed | Mixed cruising and racing |
| Garmin | Instrument or chartplotter menu | Manual offset fields | Simple integrated setups |
| B&G | Sailing calibration menu | Polar-linked | Racing programs |
Validating Results and Troubleshooting Network, Software, and Sensor Faults
Validation is the step sailors skip when learning how to calibrate marine wind instruments for better performance. After calibration, sail both tacks and compare: wind angle should match within a degree or two, wind speed within a knot. But "compare" is not a protocol, without a repeatable sequence and a place to record numbers, you rely on memory and feel.
A Repeatable Sea-Trial Validation Protocol
Use the same sequence every time so runs are comparable:
- Pick steady conditions. Ten to fifteen knots of true wind with minimal sea state. Note the wind speed and sea state in your log.
- Run starboard close-hauled. Hold a constant heading and speed for two minutes. Record apparent wind angle and wind speed every 30 seconds.
- Tack and repeat on port. Same duration, same speed, same point of sail.
- Run a reach on each tack. This checks whether the error is angle-dependent or constant.
- Run downwind on each tack. Downwind readings are the most sensitive to apparent-wind math and heading errors.
- Repeat the whole sequence. Two full passes give you a usable average and expose intermittent faults.
Record each run in a simple log:
| Run | Tack | Point of Sail | Heading | Boat Speed | Apparent Wind Angle | Apparent Wind Speed | Notes |
|---|---|---|---|---|---|---|---|
| 1 | Starboard | Close-hauled | |||||
| 2 | Port | Close-hauled | |||||
| 3 | Starboard | Reach | |||||
| 4 | Port | Reach | |||||
| 5 | Starboard | Downwind | |||||
| 6 | Port | Downwind |
If starboard and port readings differ by a consistent amount across all points of sail, suspect alignment. If the difference changes with boat speed or point of sail, suspect apparent-wind math, heading error, or a speed-source problem.
Calibration Across Wind Speeds and Conditions
A calibration that holds in 12 knots may drift in 6 or 20. Validate at two wind speeds, a light-air day and a moderate day, and note where readings diverge. Common patterns:
- Light wind: the vane is less stable, so readings scatter. Average more samples before judging.
- Strong wind: cup anemometers can over-read if bearings are dry or damaged.
- Heeled sailing: masthead angle changes with heel, which shifts apparent wind angle. Validate on flat water first, then check how much heel changes the reading.
Recognize when conditions make a test unreliable: gusty, shifting breeze; heavy chop; strong cross-current; or any day you cannot hold a steady heading and speed. A bad test is worse than none because it teaches you to distrust good data.
Troubleshooting: Network, Software, and Sensor Faults
If validation fails, work through the likely causes in order, cheapest and most common first:
- Network faults: check NMEA 2000 terminators and backbone connections. A missing terminator or a loose drop cable can cause intermittent wind data that looks like a calibration drift.
- Software faults: update display firmware, then recalibrate. Firmware updates sometimes reset calibration values or change menu locations.
- Sensor faults: a vane that sticks or cups that drag will never calibrate out. Spin the vane by hand and watch for a dead band where readings freeze.
Recheck calibration at the start of each season and after any rig work, a masthead unit disturbed during a rigging job rarely stays aligned. Keep your sea-trial log so you can compare new numbers against a known baseline.
Frequently Asked Questions
What are common symptoms of poorly calibrated marine wind instruments?
The clearest sign is a consistent wind angle bias: your true wind angle reads the same on both tacks when it should mirror. Other symptoms include wind speed that disagrees with a known reference, readings that jump or freeze at the masthead, and apparent wind that changes erratically after a tack. If the boat speed, heading, and wind angle do not add up on a steady straight-line run, recalibrate before trusting the numbers for sail trim or routing.
Can I calibrate my boat's wind instruments myself?
Yes. Most systems, including Garmin, Raymarine, and B&G, include a calibration mode in the display or chartplotter menu that walks you through a wind angle offset and speed correction. You need a calm day, a straight-line run, and a reference for speed such as GPS speed over ground. Masthead work is the exception: only climb the rig with proper gear and a second person on deck, and leave structural or wiring faults to a technician.
How do I correct the wind angle offset on a marine wind instrument?
Motor or sail on a steady heading in flat water, note the apparent wind angle, then tack or turn 180 degrees and note it again. The two readings should mirror each other; half the difference is your offset. Enter that correction in the instrument's calibration mode, then repeat the run to confirm the readings match. On Raymarine systems the offset is set from the wind instrument menu, while Garmin and B&G place it in the wind calibration page.
How often should I calibrate marine wind instruments?
Calibrate after any masthead work, transducer replacement, or rigging change, and recheck at the start of each season. A quick validation run every few months catches drift before it affects trim or routing decisions. If you notice a sudden change in apparent wind angle or speed, inspect the masthead unit for damage, fouling, or a loose cable before recalibrating, since a hardware fault will not be fixed by a software offset.
Calibration is the difference between sailing on data and sailing on guesswork. Charleston Yachting stocks the Garmin and Raymarine instrument systems that make the process straightforward, with same-day shipping on premium marine electronics and rigging hardware. Shop All and get your wind data dialed in before the next race.