

How to Test Marine Navigation Systems After Purchase

Last Updated: November 4, 2026
Quick Summary
To test marine navigation systems after purchase, power up and check the boot sequence, confirm GPS lock against a known position, verify sonar and depth readings, and check NMEA 2000 network voltage, termination and data flow. Do these checks at the dock before your first trip.
- Check the unit boots cleanly and holds steady for several minutes without restarting.
- Test GPS outdoors with a clear sky view and compare position with a known location.
- Measure NMEA 2000 termination resistance at mid-bus; a reading near 60 ohms is correct.
- Confirm every network device appears in the device list and data flows between them.
- Run the network for at least 30 minutes to catch intermittent dropouts.
Table of Contents
- Why Post-Purchase Testing Matters Before You Leave the Dock
- What You Need Before You Start: Power, Tools and Documentation
- Step 1: Power Up and Verify the Boot Sequence
- Step 2: Run GPS Signal Acquisition and Accuracy Checks
- Step 3: Test Transducer Testing Methods for Sonar and Depth
- Step 4: Verify NMEA 2000 Network Diagnostics and Data Flow
- Common Marine Electronics Troubleshooting Scenarios and Pros and Cons of Each Test Method
- Booking Your Post-Purchase Checkout Before Your First Trip
- Frequently Asked Questions
Why Post-Purchase Testing Matters Before You Leave the Dock
Testing new marine electronics is not optional.
The market is growing fast. The marine electronics market is projected to grow from $7.4 billion in 2026 to $12.5 billion by 2033, according to Grand View Research marine electronics market report.
Federal rules also set expectations. Under 33 CFR Part 164, Navigation Safety Regulations, maritime navigation and radiocommunication equipment must be tested using specific methods, with required test results.
Testing before you leave the dock helps you:
- Catch wiring and power faults while the boat is still tied up
- Confirm the GPS, sonar and network all work together
- Find out about defects while a return or warranty claim is still simple
Many buyers assume that turning on a display proves the system works, but it does not. Checking each data source is also needed.
What You Need Before You Start: Power, Tools and Documentation
Gather everything before you begin.
Documentation to have ready:
- The owner's manuals for every device
- Wiring diagrams and the installation notes
- Your warranty papers and purchase receipt
Tools and supplies:
- A digital multimeter to check voltage, continuity, and resistance
- A clamp meter or inline ammeter if you want to measure current draw
- A 60-ohm resistor or a known-good terminator for NMEA 2000 checks
Bench testing power supply requirements: Most marine electronics expect a nominal 12V DC system.
For bench testing, use a regulated 12V DC power supply rated above the device's rated current, and check the manual for the required capacity.
DIY bench wiring, done safely:
- Connect the device's positive lead through an inline fuse to the power supply positive terminal.
- Connect the device's negative lead to the power supply negative terminal.
- Confirm polarity with a multimeter before powering the device, reversed polarity can destroy a unit instantly and is not covered by warranty.
- Set the supply to 12.0V to 12.6V for a normal test, then confirm the device boots and holds stable.
- If the device has a separate ignition or accessory sense wire, tie it to positive through the correct fuse so the unit powers up as it would on the boat.
Power check on the boat:
- Confirm the DC circuit breaker is on and rated correctly
- Measure the voltage at the power input under load, not just at rest
- Look for loose or corroded battery terminals
Voltage drop can cause problems. A weak power supply or undersized wire can make a unit reboot, freeze or show false readings.
Step 1: Power Up and Verify the Boot Sequence
Start by turning the system on the way you would on a normal day. Watch the boot sequence closely, because it tells you a lot.
- Switch on the main breaker and turn on the unit. [Time: 5 minutes]
- Watch the startup screen. It should load without errors or repeated restarts.
- Check the status LEDs on any gateway or interface box.
- Confirm the unit reaches its main screen and stays stable for several minutes.
Expected result: The unit boots cleanly and holds steady without flickering or rebooting.
A common mistake is ignoring a unit that restarts once and then seems fine. Repeated restarts often point to power or wiring trouble.
Step 2: Run GPS Signal Acquisition and Accuracy Checks
Next, confirm the GPS receiver can find satellites and report a sensible position. Take the boat to an open area with a clear view of the sky if you can.
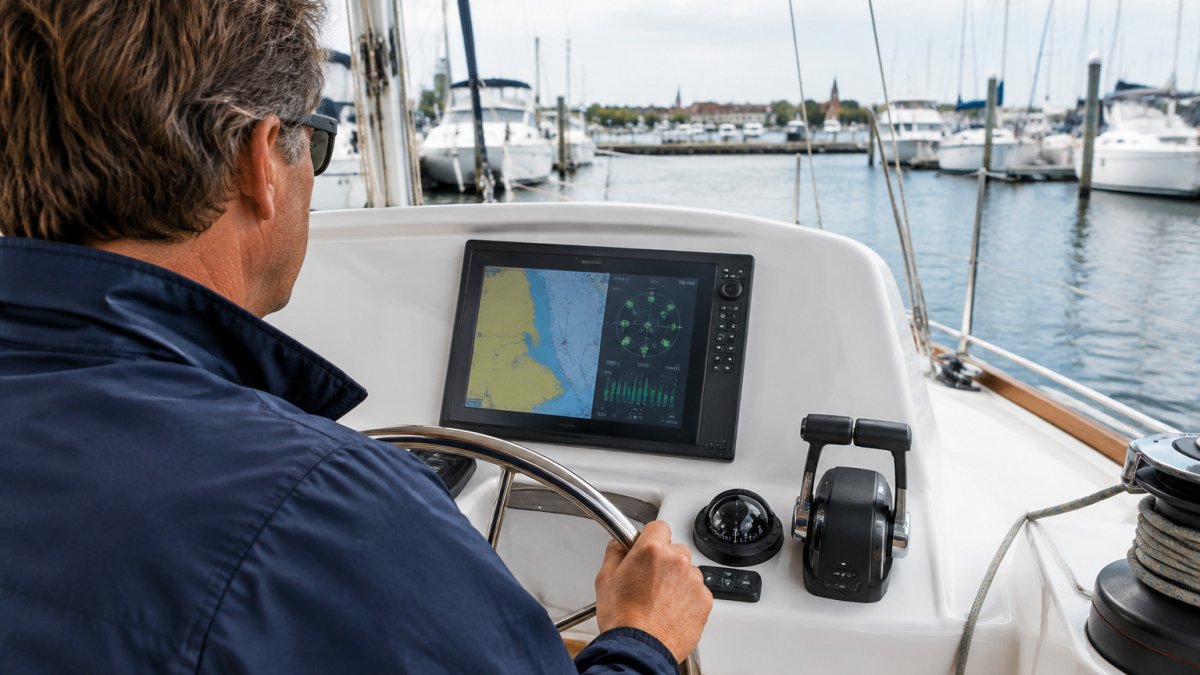
- Wait for the unit to show a satellite lock. This can take several minutes after a cold start.
- Check the number of satellites in view and the signal strength.
- Compare the displayed position with a known location, such as your dock or a landmark on your chart.
- Watch the position for a few minutes to make sure it stays stable.
Expected result: The unit locks onto satellites and shows a position that matches your known location.
Our advice: test GPS outdoors. Indoor or covered locations can give weak or no signal, which makes the test look like a fault when it is not.
Digital Yacht iKreate NMEA 2000 Simulator w/USB [ZDIGIKREATE] →
Step 3: Test Transducer Testing Methods for Sonar and Depth
Sonar and depth readings depend on the transducer. Testing it means confirming it sends and receives a signal and that the depth reading makes sense.
- Power the depth function on and confirm the reading appears.
- Lower the transducer into water, or check the reading at the dock against a known depth.
- Compare the readout with a chart or a second depth source if one is available.
- Watch for dropouts, erratic jumps or a reading that never updates.
Watch out: A transducer that is not fully submerged or is mounted with air bubbles can give false or missing readings. Check the mounting before you assume the unit has failed.
Step 4: Verify NMEA 2000 Network Diagnostics and Data Flow
Most modern boats link their electronics over an NMEA 2000 network, and this is where the majority of post-purchase faults surface.
Physical layer checks (do these first):
- Measure backbone voltage. With the network powered and all devices connected, probe the CAN_H and CAN_L pins at any free drop or tee. You should read roughly 2.5V to 3.0V on CAN_H and roughly 2.0V to 2.5V on CAN_L, with a differential of about 0.5V to 1.0V. A dead bus or a shorted drop will pull these out of range.
- Measure termination resistance. Power the network down, disconnect the backbone from any powered gateway, and measure resistance between CAN_H and CAN_L at a mid-bus tee. A correctly terminated two-terminator bus reads approximately 60 ohms. A reading near 120 ohms means one terminator is missing; a reading near 40 ohms means there are three or more terminators; an open reading means the backbone is broken or a terminator is dead.
- Inspect every drop cable and tee. Look for green or white crust on pins, pushed-back pins, and connectors that seat loosely. Salt-air corrosion on NMEA 2000 pins can cause intermittent device dropouts, and it may not be visible until you inspect the connectors closely.
- Confirm the backbone is a single linear bus with terminators only at the two physical ends. Star topologies and daisy-chained drop cables cause reflection faults that show up as random device loss.
Device visibility and data flow checks:
- Open the network device list on any display or gateway and confirm every installed device appears with a unique source address. A device that powers on but never appears usually has a drop-cable or termination problem, not a failed unit.
- Confirm cross-device data flow. GPS position should appear on the chartplotter, heading should appear on the autopilot, and depth should appear on every display that subscribes to it. If one device publishes but another does not receive, the problem is on the receiving device's source selection, not the bus.
- Watch the bus error counters if your gateway exposes them. Rising error counts during a static dock test point to termination, cable, or connector faults rather than software.
- Leave the network running for at least 30 minutes and watch for devices that drop off and reappear. Intermittent dropout can have physical causes, such as a loose tee, a corroded pin, or a drop cable pinched against a bulkhead.
Simulating data without a full boat: If you are bench testing at home, an NMEA 2000 simulator lets you inject known PGNs and confirm that a display or autopilot responds correctly before the unit ever goes on the boat. This can help isolate whether a fault lives in a device or in the vessel's wiring. Useful tools for this step include an NMEA 2000 gateway for diagnostics and, if you need to expand or repair the backbone, the right network parts. Charleston Yachting carries several options you can match to your setup:

- Digital Yacht iKreate NMEA 2000 Simulator w/USB ($329.99): useful for simulating NMEA 2000 data when you need to test devices or track down a network fault.
- Actisense NMEA2000 to WiFi Gateway W2K-2 ($286.27): a gateway with built-in diagnostics that lets you connect devices over Wi-Fi.
- Digital Yacht iKonvert w/USB Interface ($259.95): converts NMEA 2000 data for computers that read NMEA 0183.
Expected result: Backbone voltage and termination resistance are within spec, every device appears in the network list with a unique address, cross-device data flows in both directions, and no device drops off during a 30-minute soak test.


Watch out: Corroded pins and loose connectors can cause network faults.
Common Marine Electronics Troubleshooting Scenarios and Pros and Cons of Each Test Method
Not every test suits every situation. Here is how the main approaches compare.
| Test Method | Best For | Pros | Cons |
|---|---|---|---|
| Dock test | Quick power and boot checks | Fast, safe, no boat movement | Cannot test sonar or GPS fully |
| Sea trial | Full system verification | Tests real conditions | Takes time and fuel |
| Network simulator | Diagnosing data problems | Isolates network faults | Needs extra equipment |
| Multimeter check | Power and wiring faults | Precise voltage readings | Needs some electrical knowledge |
Common scenarios and likely fixes:
- Unit reboots: check voltage drop and the power connections.
- No GPS lock: test outdoors and confirm the antenna has a clear view.
- Missing depth data: check transducer mounting and cable connections.
Booking Your Post-Purchase Checkout Before Your First Trip
If you would rather have a professional confirm your setup, schedule a checkout before your first trip. A qualified technician can walk through each step above with you.
Questions to ask when booking:
- Will the technician test every connected device and the network?
- Can they check power supply and wiring as well as the displays?
- Will they document the results for your records and warranty?
Testing your navigation system after purchase takes a few hours.
Frequently Asked Questions
How long does post-purchase testing take? Most basic checks take one to three hours at the dock. A full network and sea trial can take longer, depending on how many devices you have installed.
Can I test a marine navigation system myself? Yes, many boat owners complete the basic power, GPS and network checks on their own.
Frequently Asked Questions
How can I tell if my transducer is bad?
Check depth readings at the helm against a known depth, such as a dock or a measured mark, and watch for readings that jump, drop to zero or show no data. Inspect the transducer cable and connector for pin corrosion, cracks and loose fittings, and confirm the transducer is still mounted with clean water flow over its face. If the display shows no sonar data while other instruments work, the transducer, its cable or the sonar module is the likely cause. Test each component separately before replacing anything, since a faulty connector often mimics a failed transducer.
Can I use my phone as a marine GPS?
A phone can act as a backup or a secondary display, but it is not a substitute for a certified marine chartplotter wired into your boat's power and network. Phone GPS accuracy varies with signal conditions, and phone apps do not provide the NMEA data feeds that instruments, autopilots and radar rely on. Before relying on any phone-based navigation, confirm it shows your position accurately against a known landmark, and keep a dedicated handheld GPS or your primary chartplotter as the reference. Treat a phone as supplemental, not primary.
What should I check immediately after installing new marine electronics?
Power up the system with the engine off and then with the engine running to confirm stable voltage, then verify GPS satellite lock, depth readings and any radar or AIS targets. Check that the NMEA 2000 network shows all connected devices and that data flows without errors. Run a DSC test call if your radio supports it, and confirm firmware versions are current. Record your baseline readings, since a later drop in performance is easier to diagnose against a documented starting point.
Can I test my marine GPS unit without being on the water?
You can run many checks at the dock or on a trailer, including power-up behavior, display condition, menu functions, software version and whether the unit acquires a satellite signal with a clear view of the sky. Bench testing with a stable DC power supply also helps you catch wiring or voltage problems before installation. You cannot fully verify positional accuracy or sonar performance without the boat in water, so schedule a sea trial or a short dockside test for those functions.
